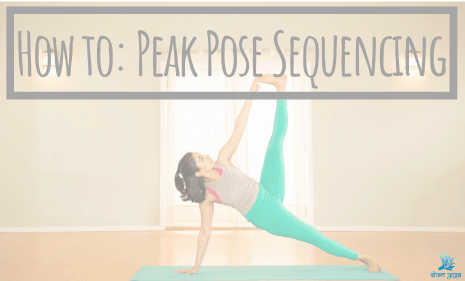
The concept of “peak pose” in yogasana has become increasingly popular in the past 40 years of modern vinyasa yoga. Think of peak pose as a destination to get to in your asana practice for a specific day or hour. Just as your GPS offers a scenic route, quickest route, and economical route, there are also several ways to arrive at your peak pose in a practice sequence.
A peak pose is usually relatively more of an advanced or skillful pose, that requires a warm-up, efficient and smart sequencing so that pose after pose you get closer to the chosen peak pose. If you’re a yoga teacher looking to get better at yoga sequencing, then read on.
Characteristics of Peak Pose Sequencing
- Typically peak poses are more advanced or challenging. Remember that advanced & challenging are subjective & used here to provide more context.
- Needs a considerable warm-up on most occasions
- These poses require considerable physical & mental effort
- Requires a release or cool down afterward
- Must master fundamentals of basic yoga poses to first to achieve peak pose
Benefits of Peak Pose Sequencing for Student
- Decreases chance of injury and leads the way for safer yoga classes
- Creates clarity for the student, helps them understand how to progress step by step
- Makes yoga practice more accessible
- Increases chances of achieving peak pose
- Yoga practice progresses faster with smarter sequencing
Benefits of Peak Pose Sequencing for Teacher
- Elevates yoga asana class
- Help’s the yoga teacher understand yoga sequencing more intricately
- Teaches us that there are many approaches to one yoga pose, and how to understand when to use the right one at the right time
- Teaches us to pull back in intensity when required
- Enhances the ability to accommodate all student levels in a class
- Enriches the ability to create better, safer, more interesting classes/workshops

Steps To Take In Peak Pose Sequencing
1. Pick a Peak Pose
The first step is a bit obvious, picking a peak pose. There are many options to choose from. To help in your decision-making, review the class level, demographics you’ll be teaching. It’s also a good idea to consider the time of day, availability of props and space, the duration of the class & most importantly your participant’s experience in asana.
2. Determine Main Components of Pose
Once you’ve decided on your peak pose, look at its main components. Consider parts of the body that need to be warmed up, primed, or educated to make progress towards the peak. Typically, you can expect anywhere from one to three components to focus on in a peak pose. Avoid going beyond three as it can overload the student.
Example: In doing Hanumanasana, the three components would be the hamstrings, quadriceps, and gluteal muscles.
3. Brain Dump all Possible Poses
One of the most common mistakes yoga teachers make is trying to get it right from the start of the sequence. A better approach is to “brain dump” all of the yoga poses that benefit the chosen peak pose onto a piece of paper. In no particular order, write down all the poses that come to mind. This will make sequencing towards the peak pose way more efficient.
4. Organize Poses in the Order of Intensity
Once you’ve completed step 3, start organizing poses in order from easiest to moderate, and then intense. This may take a few attempts, especially if you’re new to yoga sequencing. Don’t be discouraged. You will end up with an organized list of yoga poses that will make your life so much easier when planning sequencing towards the peak pose.
Note: It’s easy to get a little carried away with step 3 and 4. Keep in mind the class level, time, and duration as checkpoints.

5. Optimize your Transition Points
A transition point is what happens from one main pose to the next. It comes down to how you want to link you’re poses. If you’re a vinyasa flow teacher, you want to re-examine the need for countless chaturangas and back and forth movement for some peak poses. Sometimes they’re needed but many times, they are unnecessary. Paying attention to transition points also helps to be more time-efficient in classes.
Example: If your peak pose is Urdhva Dhanurasana, doing many chaturangas and arm-based movements will actually work against your peak pose instead of aiding it.
6. Spend time in Peak Pose
A common teaching error is spending so much time and effort building up to the peak pose, that little time is left to be spent in the actual peak pose. I’m often guilty of this as well. Time management is key in peak pose sequencing. When you build up to a peak pose, you should also be able to spend time getting deeper into it. Leave enough time in your class to do the peak pose at least two or three times. You can refine the pose a little more each time as the students progress.
7. Counter Principle
Many peak poses need a counter release. Peak pose sequencing is like a one-way street. The focus is on going deep in one direction. It’s important to know what the counter principle is or what cooldown is best suited for the chosen peak pose. Be sure to allow space for the counter at the end before closing out of the peak sequence.
Example: Deep backbends need to have twists to bring the spine back to neutral.
I hope these simple steps have left you feeling better equipped for your peak pose sequencing. Be on the lookout for more yoga teacher-specific blogs coming soon. In the meantime follow along with our Facebook and Instagram pages for other tips, tricks, and yoga goodness!
Check out some of our other teacher blogs: 5 Tips for New Yoga Teachers, Avoid Yoga Teacher burnout

