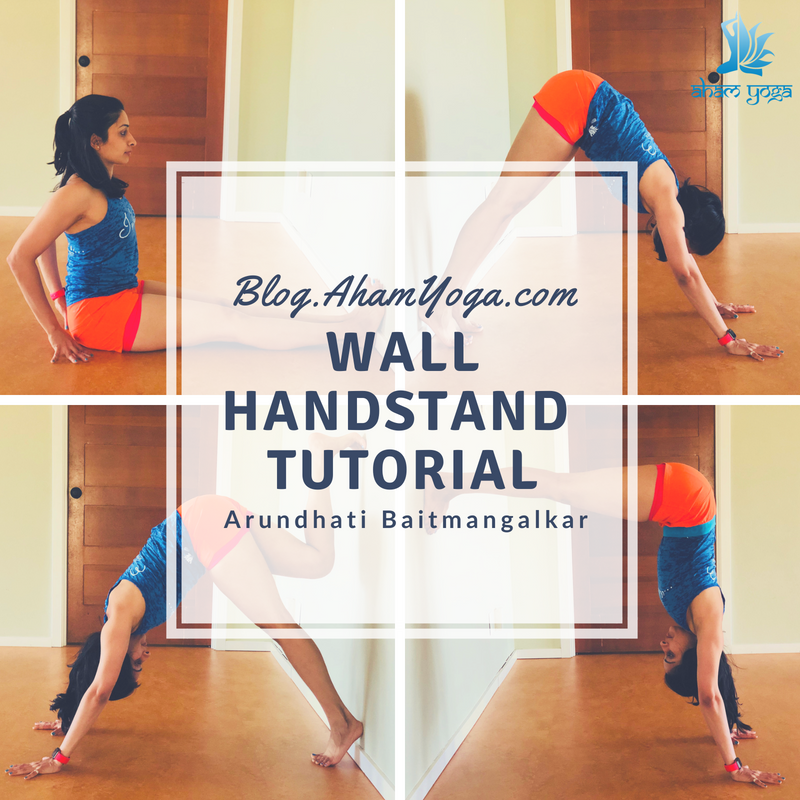
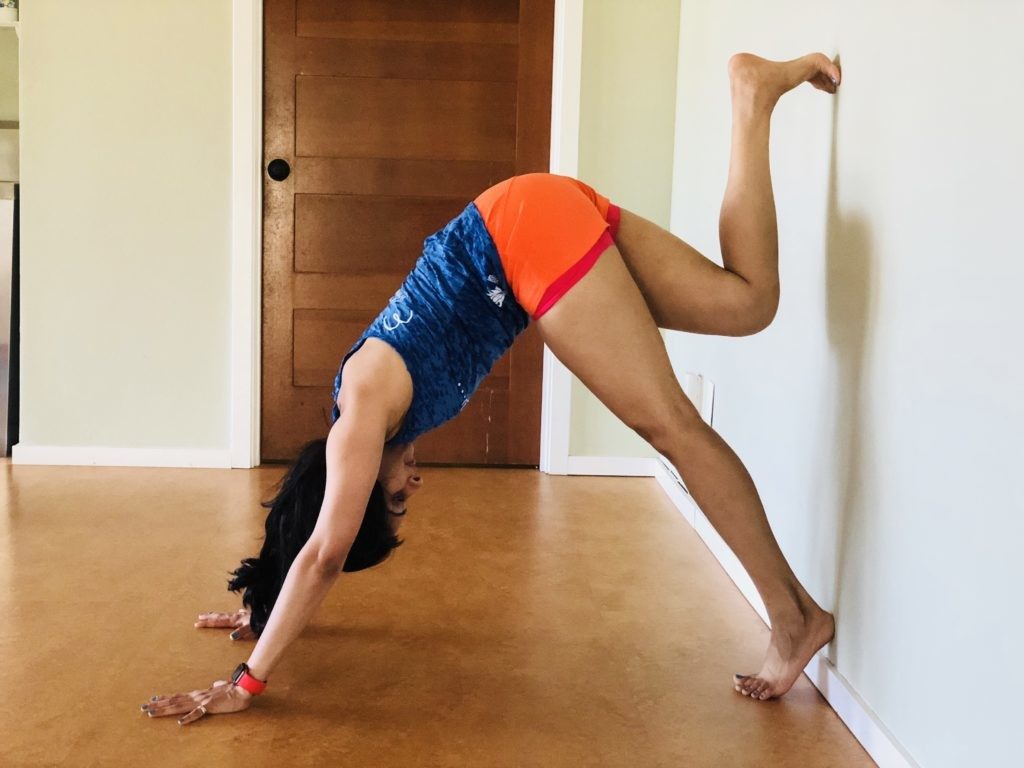
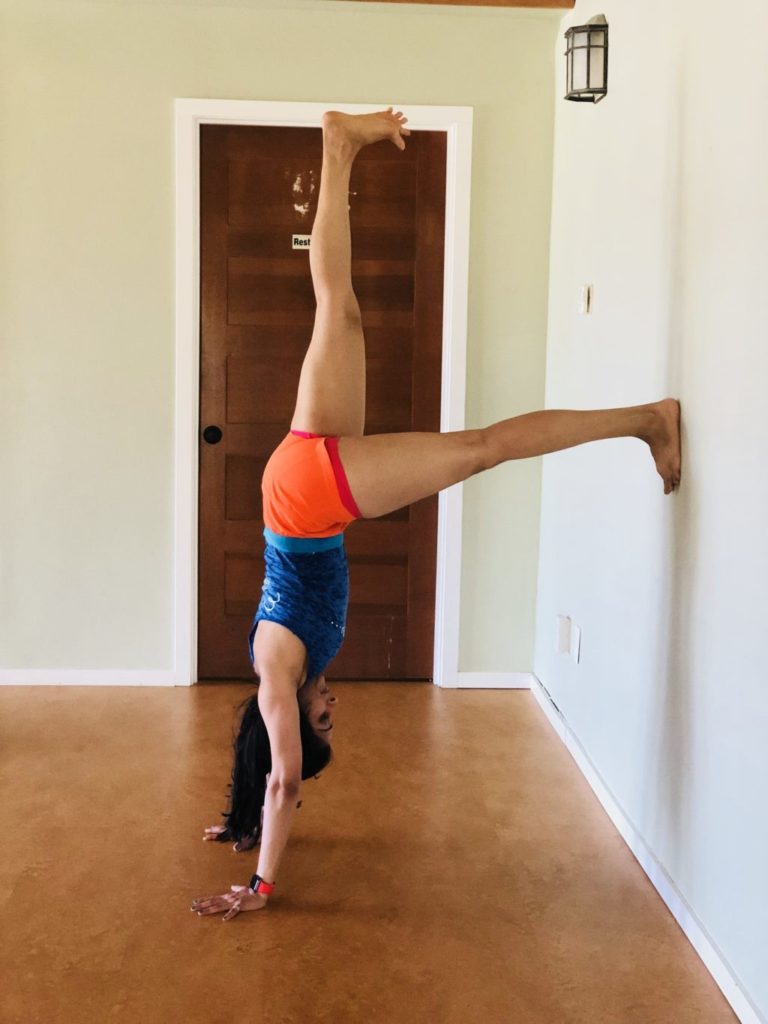
This blog post will take you through how to get into a handstand with the help of a wall. If you have been practicing yoga for a while and would like to learn how to do a handstand, this wall handstand tutorial is perfect for you. This will help you build the necessary strength, stability and confidence that will help you get upside more often.
What is the real name of handstand?
In Sanskrit, handstands are called ‘adhomukha vrkshasana’ meaning downward facing tree pose.
The truth about handstands…
Handstand is a hard yoga pose. A really tough, challenging yoga pose. Though if you are savvy on Instagram it will seem like everyone who does yoga well, can do handstands. This is not true. In fact, the majority of people who do yoga – cannot do handstands. In fact, the majority of people who do yoga do not post about it on social media. So what you see online is a bias representation. So don’t be disheartened. Handstand takes months and years master and sometimes even a lifetime. It demands patience, poise and maturity. And often, certain aspects like body proportions are not taken into account. Someone with a longer spine and shorter limbs can probably master handstand more easily than someone with a short torso and long limbs. So be patient, do the yoga pose for its benefits and not for an external display and learn to enjoy where you are at.
Benefits of wall handstand…
- Handstand is energizing
- Helps to refresh the mind
- Builds physical strength
- Improves concentration and ability to focus
- Heightens body awareness
- Brings blood flow to the brain
- Removes fatigue and fear
Here is a step by step tutorial for wall assisted handstand…
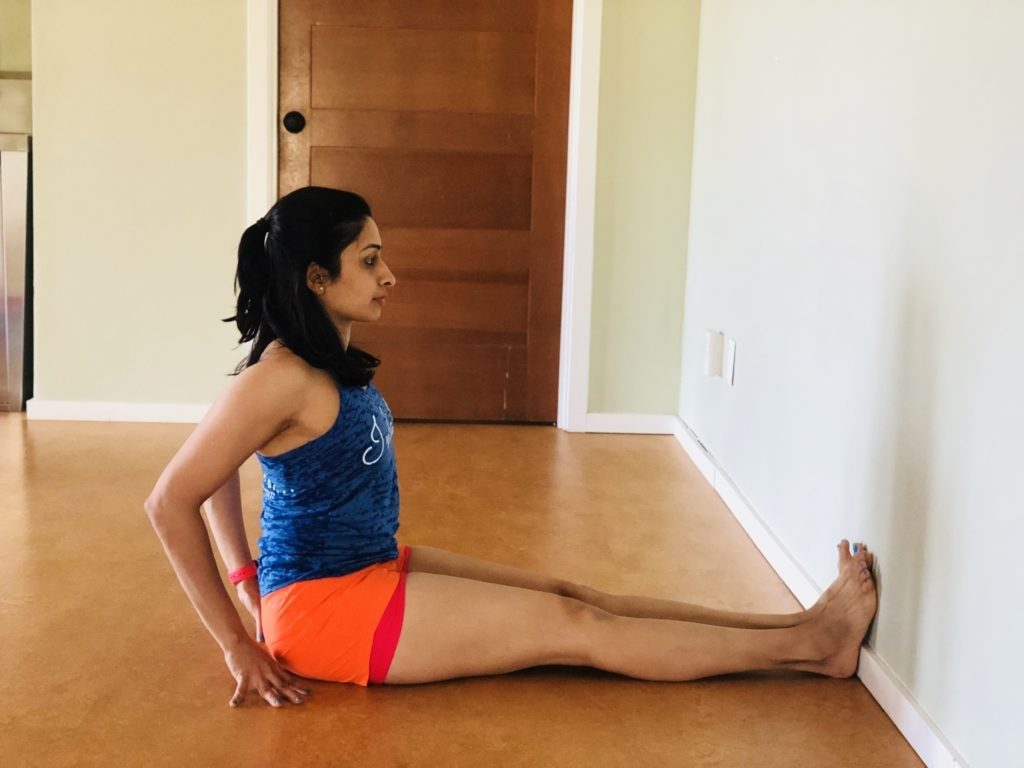
Step 1:
Sit with your feet against a wall. Measure out the distance from the wall to your buttocks. Place your hands behind you to do this. This is where you will place your hands when you go up in handstand.
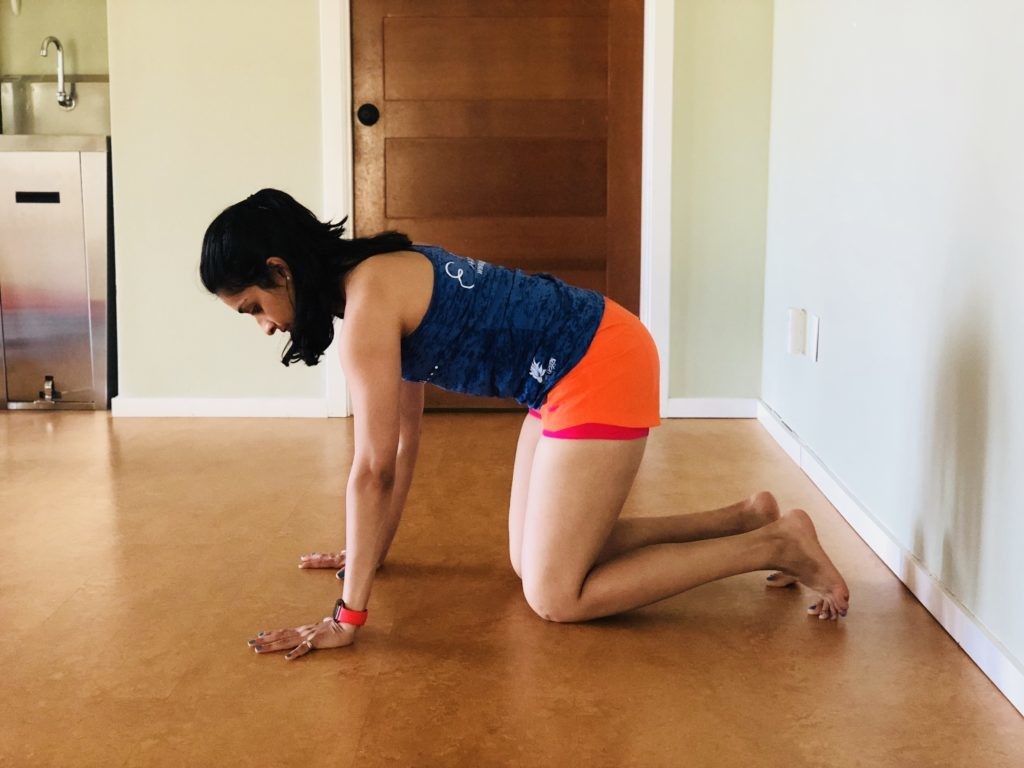
Step 2:
Keep one hand in place and turn around so you have your distance. Press both hands down evenly and strongly. Straighten your arms and get ready to go up in wall handstand
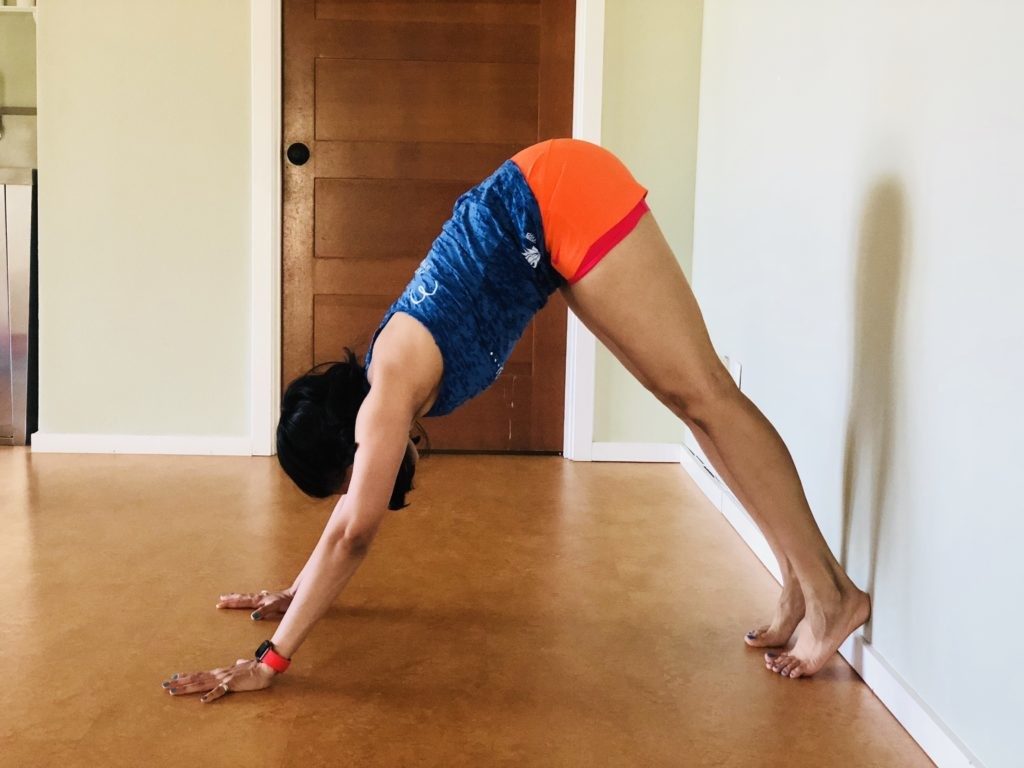
Step 3:
Press your hands and lift your hips up like you are about to do downward facing dog. Bring your feet to the wall at this point. Draw shoulder blades up your back, externally rotate your upper arms and look at your feet
Step 4:
Step one leg high up on the wall. If you step too low it will be much harder to go up in wall handstand. Press the hands down and get ready to lift the other leg up. Look at the wall and not between your palms
Step 5:
Place both feet on the wall. Press the feet firmly into the wall, stay strong in the arms and the chest. Gaze towards the wall. Feet should be in line with the hips. Higher is okay initially if needed but not below the hips. Gaze at the wall.
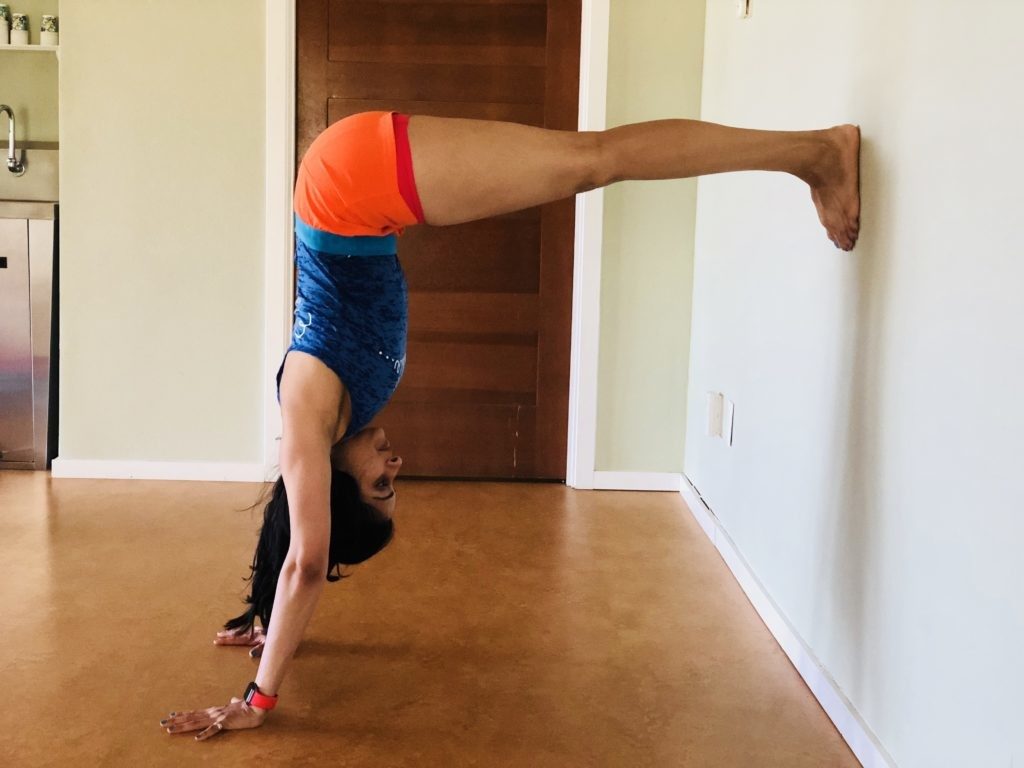
Step 6:
Master staying in Step 5 for an extended duration. Once you get proficient with that, you can try lifting one leg up like this. The leg on the wall presses strong and firm. While the elevated leg reaches to the ceiling . The whole body is active in a yoga pose like this. Breathe comfortably and do not dump into the shoulders. Repeat on both sides and come out and rest in child’s pose.
Repetitions for wall handstand…
Depending on your ability and form, anywhere from 1 round to 3 rounds is good. Hold for only as long as you can stay steady, controlled and remain well-aligned in this pose.
Contra-indications for wall handstand…
- Avoid during menstruation
- Later stages of pregnancy
- Wrist injuries
- Vertigo
Let us know if you try this wall handstand version in your yoga practice. We will update a kick up to the wall handstand blog soon. Meanwhile, remember to be patient and kind to yourself while doing a demanding pose like this.

